- $USD
- English (United States)
- Hire an Expert
- Get Support
The checkout process stands as a critical phase in the customer's buying journey, serving as the final opportunity to persuade potential buyers to complete a purchase. However, a significant <a href="https://www.quicksprout.com/checkout-process-design/" target="_blank" rel="noopener">63.23% of eCommerce shopping carts</a> get deserted. This indicates a substantial number of online shoppers who initially intend to buy a product but alter their decision at the eleventh hour.
Numerous elements influence cart abandonment, including factors like shipping expenses and payment choices. However, the design of the checkout page itself can also be a contributing factor. If the checkout page proves overly intricate, excessively protracted, or demands overly sensitive personal details, customers may opt to depart and buy a similar product from another source.
A highly effective approach to enhancing your checkout page is tailoring the fields according to your business requirements and your specific target audience. For instance, if your typical clientele doesn't include businesses, you can eliminate the Company Name field. Conversely, if you enjoy surprising your customers with birthday treats, incorporating a Date of Birth field can be beneficial. If you specialize in pet-related products, it might be logical to inquire about the Type of Pet.
In this article, we will guide you through the process to <a href="https://woo.com/products/conditional-checkout-fields-for-woocommerce/" target="_blank" rel="noopener">add custom WooCommerce Checkout Fields</a> to cater to both your customers' preferences and the demands of your business.
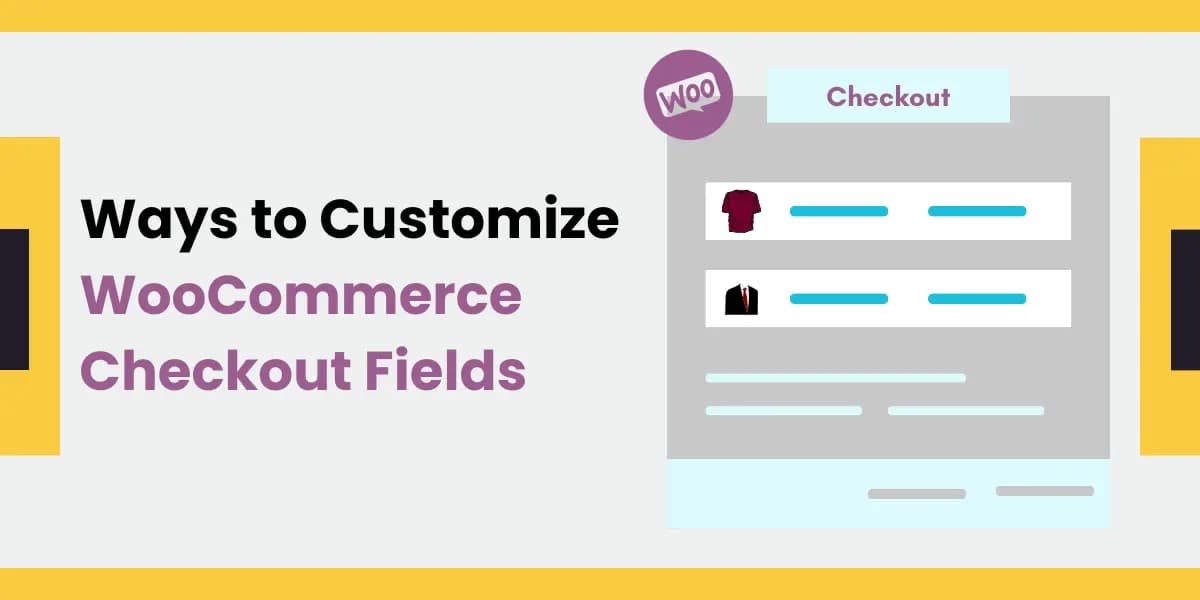
<h2>Customizing WooCommerce Checkout Fields</h2>
WooCommerce provides all the essential fields for your checkout page. By default, it asks shoppers for:
<ul>
<li>Billing details</li>
<li>First name</li>
<li>Last name</li>
<li>Company name</li>
<li>Country</li>
<li>Address</li>
<li>Town/City</li>
<li>District</li>
<li>Postcode/ZIP</li>
<li>Phone</li>
<li>Email address</li>
<li>Order notes</li>
</ul>
But there are a lot of ways you can edit the page to meet your needs, including:
<ul>
<li>Editing the design</li>
<li>Changing the text on the “Place Order” button</li>
<li>Removing a field</li>
<li>Making a field required (or not required)</li>
<li>Changing input field labels and placeholder text</li>
<li>Verifying a delivery preference</li>
<li>Allowing customers to request a delivery date or deadline</li>
<li>Setting a preferred contact method</li>
</ul>
These represent merely a handful of the modifications you can implement – WooCommerce offers an extensive range of options suitable for all levels of expertise. If you feel confident in your coding skills, you can apply customizations through code snippets. Conversely, if you favor an alternative approach, there are numerous methods available that allow you to achieve these changes without necessitating any coding whatsoever.
<h2>Customize Checkout Fields with WooCommerce Checkout Field Editor</h2>
WooCommerce provides a multitude of excellent options for editing checkout fields using plugins. This way you won’t have to do any coding. It is difficult to choose the right WooCommerce checkout field editor since there are too many options. For the sake of this article, we will discuss the <a href="https://view.fmeaddons.com/woocommerce-plugins-extensions/conditional-checkout-fields-woocommerce" target="_blank" rel="noopener">WooCommerce Custom Checkout Fields Editor</a> plugin.
<h3>WooCommerce Checkout Field Editor Plugin</h3>
With WooCommerce's custom checkout fields editor, you can modify or create additional checkout fields while incorporating conditional logic. You can introduce checkout fields based on specific products, categories, or user roles, directly on the checkout page. The interface is straightforward, efficient, and user-friendly.
Now let’s discuss how to install teh plugin and how it works.
<h4>Plugin Installation</h4>
<ol>
<li>Download the <strong>edit checkout fields WooCommerce</strong> plugin and have your .zip file</li>
<li>At the WordPress admin panel, go to the <strong>Plugins</strong> section, and click ‘<strong>Add New</strong>’ to upload and install the plugin you just downloaded from WooCommerce.</li>
<li>Upload the .zip file to proceed with the installation.</li>
<li>Wait until the plugin installs. After successful installation, activate the plugin and move on to configuration settings.</li>
</ol>
<h4>Plugin Configurations</h4>
At the WooCommerce admin panel, go to <strong>WooCommerce > Setting> Conditional Checkout Fields</strong> for WooCommerce to customize the checkout page without coding.
<h4>Field Types</h4>
There are three sections of Fields that you can edit with the WooCommerce checkout page editor:
<ul>
<li><strong>Billing</strong> – Billing address and payment section of checkout (payment must be enabled)</li>
<li><strong>Shipping</strong> – Shipping details section of checkout (shipping must be enabled)</li>
<li><strong>Additional</strong> – Additional Information section that appears after the billing and shipping sections of checkout, next to order notes (order notes must be enabled)</li>
</ul>
<h4>Billing Section</h4>
To customize the fields in the billing section, simply click on the "<strong>Billing Field Tab</strong>." Here, you will find a list of both custom and default WooCommerce billing fields. You can make changes to the default checkout fields by selecting the "<strong>Edit</strong>" button.
Click on “<strong>Add Field</strong>” to create a new checkout field for billing, shipping, or additional sections.
<h4>Custom Field Settings</h4>
After clicking on the Add field button, now you can customize the field according to your preferences. You can do the following settings with each field.
<ul>
<li><strong>Type</strong> (Select the type of field you require)</li>
<li><strong>Field Name</strong> (Set the field name)</li>
<li><strong>Label</strong> (Set the Label of the Field to display on frontend)</li>
<li><strong>Enable</strong> (Enable/Disable the field)</li>
<li><strong>Placeholder</strong> (Specify placeholder )</li>
<li><strong>Field Class</strong> (Choose the position or width of fields such as form row first/last, wide)</li>
<li><strong>Price</strong> (Set price for this field )</li>
<li><strong>Required</strong> (Make these fields mandatory for Customers)</li>
<li><strong>Display for Specific Product or Category</strong> (Display field based on specific products or categories in cart)</li>
<li><strong>Display only Specific User roles</strong> (Show this field to specific users only)</li>
<li><strong>Add Conditions</strong> (Make the field dependent on other fields. The relation between groups is “Or” and the relation between conditions is “And”)</li>
</ul>
<h3>WooCommerce Custom Checkout Fields Types and Their Uses</h3>
There are several advantages of <a href="https://woo.com/document/conditional-checkout-fields-manager-for-woocommerce/" target="_blank" rel="noopener">WooCommerce checkout field editor</a> plugin as you can add the following types of fields without coding.
<ul>
<li><strong>Text Field</strong> – Add text field options to the billing or shipping section to take multiple data units in single lines from customers.</li>
<li><strong>Text Area</strong> – Acquire details or information in a paragraph by using the text area option. Provide more space for customers to share data.</li>
<li><strong>File Upload</strong> – Let the customers upload files in varying formats to make you understand the billing or shipping details.</li>
<li><strong>Drop-Down</strong> – You can display more options for customers to easily select from by using a dropdown field.</li>
<li><strong>Radio Button</strong> – Show the options in the form of radio buttons to facilitate customer selection with a click</li>
<li><strong>Checkbox</strong> – Add a checkbox to allow customers to easily select or ignore an option. With multiple checkboxes, selection becomes easier.</li>
<li><strong>Simple Checkbox</strong> – Use a simple checkbox to ask customers straight about a Yes or No for a field or question.</li>
<li><strong>Multiple Select</strong> – A question that requires customers to submit more entries, use multiple select. For example, asking customers about their interests.</li>
<li><strong>Date and Time</strong> – Help your customers enter a date and time in the right format by providing a purpose-built field.</li>
<li><strong>Color Picker</strong> – Display multiple colors in box shapes so that customers can click the required color rather than reading the available colors.</li>
<li><strong>Password</strong> – Allow your customers to share passwords of accounts relevant to the product or service you offer.</li>
<li><strong>Phone Number</strong> – Acquire customers’ phone numbers in the right format</li>
<li><strong>Number</strong> – Helps to get details from customers in numbers e.g. lucky numbers, etc.</li>
<li><strong>Paragraph</strong> – Compose a brief message to easily convey a message</li>
<li><strong>Heading</strong> – segregate fields by headings to create sections</li>
</ul>
<h2>Customize WooCommerce Checkout Fields Using Code Snippets</h2>
Code snippets offer versatile options for developers and store proprietors seeking to personalize WooCommerce checkout fields. Below is a compilation of key tags, encompassing classes and IDs, which you can utilize to modify the visual appearance of your checkout page. You can incorporate the custom CSS into either your child theme or the WordPress Customizer for implementation.
<em><body class="woocommerce-checkout"></em>
<em><div class="woocommerce"></em>
<em><form class="woocommerce-checkout"></em>
<em><div id="customer_details" class="col2-set"></em>
<em><div class="woocommerce-billing-fields"></em>
<em><p class="form-row"></em>
<em><div class="woocommerce-shipping-fields"></em>
<em><p class="form-row"></em>
<em><div class="woocommerce-additional-fields"></em>
<em><div id="order_review" class="woocommerce-checkout-review-order"></em>
<em><table class="woocommerce-checkout-review-order-table"></em>
<em><div id="payment"></em>
<em><ul class="wc_payment_methods payment_methods methods"></em>
<em><div class="form-row place-order"></em>
<h3>Remove a checkout field with a code snippet</h3>
While the process is relatively simple, exercise caution as this modification may potentially clash with other extensions and plugins. When making alterations to your store's code, we strongly advise testing them initially on a staging site.
To implement this change, you can insert the provided code into your child theme's functions.php file or utilize a code snippet plugin, which permits the addition of code to your site without the need to edit theme files. Please be mindful that pasting the complete code will result in the removal of all fields from the checkout page, so ensure that you include only the fields you intend to eliminate.
<em>/**</em>
<em>Remove all possible fields</em>
<em>**/</em>
<em>function wc_remove_checkout_fields( $fields ) {</em>
<em>// Billing fields</em>
<em>unset( $fields['billing']['billing_company'] );</em>
<em>unset( $fields['billing']['billing_email'] );</em>
<em>unset( $fields['billing']['billing_phone'] );</em>
<em>unset( $fields['billing']['billing_state'] );</em>
<em>unset( $fields['billing']['billing_first_name'] );</em>
<em>unset( $fields['billing']['billing_last_name'] );</em>
<em>unset( $fields['billing']['billing_address_1'] );</em>
<em>unset( $fields['billing']['billing_address_2'] );</em>
<em>unset( $fields['billing']['billing_city'] );</em>
<em>unset( $fields['billing']['billing_postcode'] );</em>
<em>// Shipping fields</em>
<em>unset( $fields['shipping']['shipping_company'] );</em>
<em>unset( $fields['shipping']['shipping_phone'] );</em>
<em>unset( $fields['shipping']['shipping_state'] );</em>
<em>unset( $fields['shipping']['shipping_first_name'] );</em>
<em>unset( $fields['shipping']['shipping_last_name'] );</em>
<em>unset( $fields['shipping']['shipping_address_1'] );</em>
<em>unset( $fields['shipping']['shipping_address_2'] );</em>
<em>unset( $fields['shipping']['shipping_city'] );</em>
<em>unset( $fields['shipping']['shipping_postcode'] );</em>
<em>// Order fields</em>
<em>unset( $fields['order']['order_comments'] );</em>
<em>return $fields;</em>
<em>}</em>
<em>add_filter( 'woocommerce_checkout_fields', 'wc_remove_checkout_fields' );</em>
<h3>Code to make a required field not required</h3>
In the below example, we’ll edit the Billing Phone field to make it not required. Add this code to your child theme’s functions.php file.
<em>add_filter( 'woocommerce_billing_fields', 'wc_unrequire_wc_phone_field');</em>
<em>function wc_unrequire_wc_phone_field( $fields ) {</em>
<em>$fields['billing_phone']['required'] = false;</em>
<em>return $fields;</em>
<em>}</em>
<h3>Change input field labels and placeholders</h3>
Add the following code to your child theme’s functions.php file to edit the labels and placeholders of your checkout fields. You can customize it to fit your needs.
<em>add_filter('woocommerce_checkout_fields', 'custom_override_checkout_fields');</em>
<em>function custom_override_checkout_fields($fields)</em>
<em>{</em>
<em>unset($fields['billing']['billing_address_2']);</em>
<em>$fields['billing']['billing_company']['placeholder'] = 'Business Name';</em>
<em>$fields['billing']['billing_company']['label'] = 'Business Name';</em>
<em>$fields['billing']['billing_first_name']['placeholder'] = 'First Name'; </em>
<em>$fields['shipping']['shipping_first_name']['placeholder'] = 'First Name';</em>
<em>$fields['shipping']['shipping_last_name']['placeholder'] = 'Last Name';</em>
<em>$fields['shipping']['shipping_company']['placeholder'] = 'Company Name'; </em>
<em>$fields['billing']['billing_last_name']['placeholder'] = 'Last Name';</em>
<em>$fields['billing']['billing_email']['placeholder'] = 'Email Address ';</em>
<em>$fields['billing']['billing_phone']['placeholder'] = 'Phone ';</em>
<em>return $fields;</em>
<em>}</em>
<h2>Start Customizing WooCommerce Checkout Fields</h2>
Modifying the checkout process can exert a substantial influence on your conversion rate. Therefore, it's advisable to approach changes thoughtfully, with a clear objective in sight.
The good news is that WooCommerce provides you with the freedom to tailor your checkout process to suit the unique needs of your customers precisely. Whether your goal is to implement visual alterations or to include or exclude specific checkout fields, you have a plethora of solutions at your disposal.