- $USD
- English (United States)
- Hire an Expert
- Get Support
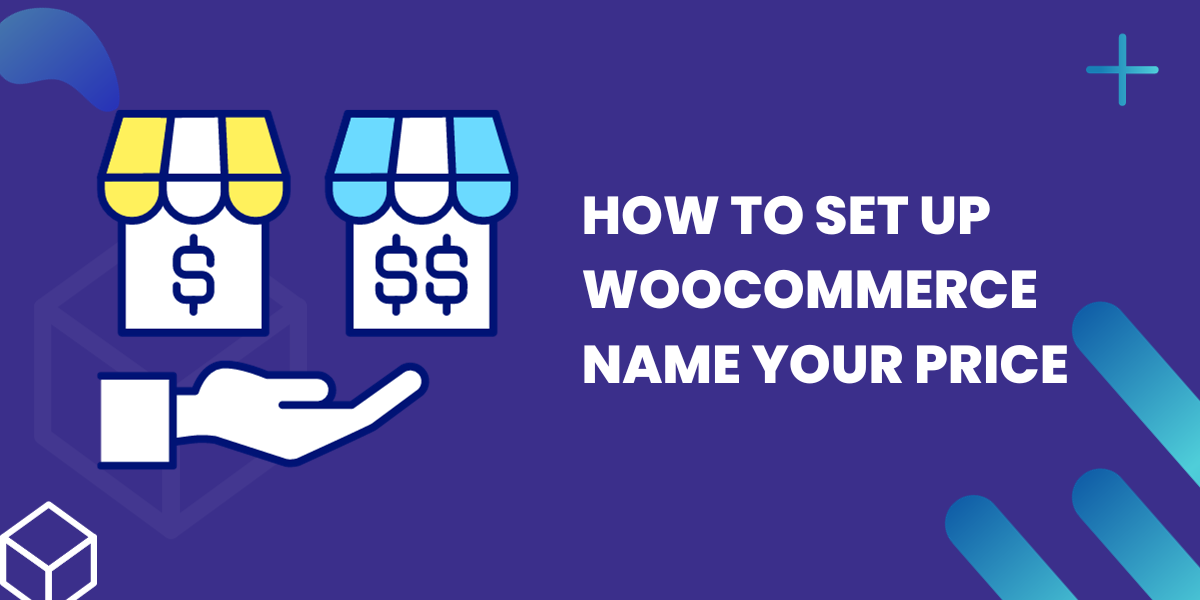
Every now and then, you're online shopping and come across something you really want to buy, but the price is too high for your budget. You might hope there's a way to suggest a more affordable price. Surprisingly, there is such an option! It's called WooCommerce Name Your Price, and it lets you suggest your own price for products in your WooCommerce store. The best part of this method is that you can easily negotiate a price or even the quantity. Let’s go ahead and know more about the same.
What is WooCommerce Name Your Price?
With "Name Your Price," sellers allow customers to decide how much they want to pay for a product. However, the sale only goes through if the price meets or exceeds a minimum amount set by the store owner. Here's how the process works.
- The store owner sets a threshold price for the product. This is the minimum amount they are willing to accept from customers. However, they can also choose not to set a threshold price.
- When a buyer enters a price of their choice for the product, the store owner has the option to either accept or reject it.
- If the customer's price is lower than the threshold price, the store owner rejects it and prompts the customer to enter a higher price.
- If the customer's price meets or exceeds the threshold, the store owner accepts it, and the order is processed at that price.
- This pricing method is sometimes called a "reverse auction." It attracts many potential buyers, but ultimately, the product goes to the buyer who is willing to pay the price set by the seller.
Why implement the “WooCommerce Name Your Price” Pricing strategy?
While "Name Your Price" may seem like a risky strategy for sellers, it can actually be quite advantageous. Sellers can set a minimum threshold to ensure they still make a profit, even when customers determine the price. This way, they avoid losses. Additionally, this method often leads to happier customers who return for a better shopping experience. It also helps sellers gauge the price customers are willing to pay, making market analysis easier. Successful websites like Priceline use this strategy to understand their users' price preferences. Moreover, if you're a newcomer in the market and want to learn what customers are willing to pay for your product, this method can help you quickly gather that valuable information. It's a strategy that can win over customers and provide insights into market dynamics.
How to Setup Name Your Price Strategy on your WooCommerce store?
To enhance the pricing strategy on your WooCommerce store, consider utilizing the WooCommerce Role-Based Pricing Plugin. This plugin enables you to quickly implement the Name Your Price option. Here are some of its popular features that can greatly benefit your store:
- Customer-Defined Pricing: You can allow customers to name their prices for products, giving them flexibility in determining the value.
- Threshold Control: Set a minimum threshold amount to prevent free or excessively low-priced purchases, ensuring you maintain profitability.
- Price Concealment: Hide the product price, allowing customers to focus on suggesting their preferred price.
- Flexible Application: Easily configure settings on a global scale or apply them to individual products, giving you full control over how you implement this pricing strategy.
- Support for Product Types: The plugin seamlessly supports both Simple and Variable Products in your WooCommerce store, ensuring compatibility across various product offerings.
By incorporating the WooCommerce Name Your Price Plugin, you can provide customers with more pricing flexibility and gain valuable insights into their preferences while maintaining control over your profitability.
Steps to Enable Name Your Price Strategy on your WooCommerce Store?
Here are some steps to install the plugin on your WooCommerce store.
Step 1: Download and install the plugin
To download and install the WooCommerce Name Your Price plugin on your WordPress WooCommerce store, follow these steps:
- Download the Plugin: Visit the product page of the WooCommerce Name Your Price plugin. You can typically find this on the WooCommerce plugin marketplace or a trusted source. Log into Your WordPress WooCommerce Store: Access the admin area of your WordPress website where you have your WooCommerce store.
- Install the Plugin: In the WordPress dashboard, navigate to the "Plugins" section on the left sidebar.
- Add New Plugin: Click on the "Add New" button at the top of the Plugins page.
- Upload the Plugin: Click the "Upload Plugin" button.
- Choose File: Select the plugin file you downloaded earlier from your computer.
- Install Now: Click the "Install Now" button. WordPress will upload and install the plugin.
- Activate the Plugin: After the installation is complete, you'll see an "Activate" button. Click on it to activate the WooCommerce Name Your Price plugin.
- Configure Plugin Settings: Once the plugin is activated, go to your WordPress dashboard and find the "WooCommerce Name Your Price Plugin" in the "Installed Plugins" section. Click on it, and you should see a "Settings" option. Navigate to "Dashboard > Plugins > Installed Plugins > WooCommerce Name Your Price Plugin > Settings" to configure the plugin settings as needed.
Now, you can configure the plugin settings to tailor the Name Your Price feature to your specific store requirements.
Step 2: Plugin Configuration
At the admin panel WooCommerce > Settings click User Defined Pricing. Here you find two tabs i.e: General settings and Manage Rules.
- Click on the General settings to configure the following.
- Click on the General settings to configure the following.
- Suggested Price label (Add customized text for suggested price).
- Minimum Price label (Set text for minimum price).
- Maximum price label (personalized text for maximum price).
- Add to cart button (shop page) (Configure text for add to cart button on the shop page).
- Add to cart button (product page) (Add customized text for add to cart button for product page).
- Minimum price error label (Add text for minimum price message alert).
- Maximum price error label (Add custom text for maximum price message alert).
- Redirect After Add To Cart (Choose an option as to whether to redirect the user to the cart page, checkout page, or product page after adding to the cart).
Step 3: Rule Management
Once you've adjusted the settings in the General settings tab, proceed to the "Manage Rules" section. From here, you have the ability to oversee and make changes to your existing rules. Whether you need to modify or remove rules, you can do so conveniently within this section.
- Click on the “Add New Rule” button to create new rules.
- Rule Name (Specify new rule name here)
- Custom user price ((Enable/disable the custom user price))
- Rule Priority (Option to set the priority of this rule)
- Roles allowed (Select user roles allowed for this role)
- Allow guest users (Check if you want to allow guest users for this rule)
- Select product type (Select simple, variable, or both product types to apply rules)
- Product/Category restriction (Option to set restrictions on all products, categories, and collections)
- Minimum Price (Set a minimum price range for customers)
- Maximum Price (Set a maximum price range for customers)
- Prevent Maximum price restriction (Check this to allow users to add more than the maximum price limit)
Bottom Line
Using a strategy that invites customers to name their own prices may initially cause concern for WooCommerce store owners. Nonetheless, research indicates that this approach holds significant commercial potential. It's possible to integrate this strategy into your WordPress website by employing the WooCommerce Name Your Price plugin. While it involves a level of risk, the benefits it offers can lead to increased revenue and sales for your store.